I know I've missed the last two weeks of Food Porn Friday posts. My schedule has to be completely reworked now that I got a job. There's good things and bad things about this particular gig. Good stuff includes, the fact that I'm going to be getting a paycheck, the fact that it's a part time job so I'll still have time to write, and most importantly, there's no hard selling involved. The bad part is that it's retail, so I don't have a set weekly schedule. My hours will be different every time I work and so will my days. I have to learn to plan ahead so I don't miss my blog posts, and also so I have time to write, edit, read, review, edit Virginia's reviews, promote other authors, and participate in events.
Piece of cake...
I do have the planning thing down a smidgen, but then people come to me with "emergencies" and I have to drop everything I am doing and help them. Always happens. I have to learn to say "no."
Anywho, I just wanted to acknowledge the fact that I am aware of my missing Friday posts. But hey - at least I've been getting my Toe-Tapping Thursdays in! :D
Don't worry, I'll figure it out!

This, That, and Whatever.
Showing posts with label Food Porn Fridays. Show all posts
Showing posts with label Food Porn Fridays. Show all posts
Saturday, August 16, 2014

Friday, August 01, 2014
Food Porn Friday: Chocolate Chip Cookie Dough Sandwiches

I don't remember what I was doing yesterday, but I stumbled across this picture. That looks good, and interesting. I'm kind of on the fence when it comes to cookie dough. I like cookie dough ice cream, and a few other random things...but other times, I'm not a fan of the taste of it. So I guess it depends on how it's made. The cookies themselves look pretty yummy, and I am very intrigued by this concept. It's new to me - I've never seen or heard of these before. So I am making a mental note (in the form of a Food Porn Friday post, hehe) to try these and see how they taste.
Friday, July 25, 2014
Food Porn Friday: Appetizers
For this week's Food Porn Friday post, I want to talk about something I am craving, and that is an appetizer that I make usually during the holidays. You know, because we don't have enough food for Thanksgiving and Christmas, we gotta have something to snack on too. Unfortunately I don't have a picture of the finished product, but I went to Google and got pictures of the specific ingredients you need. I'm posting them in order of how I place the items.
1. Crackers

2. Salchichon Goya

3. Guava Paste


(Alternate cheese) Queso de Papa

Now, if I remember correctly, when I was little and my mom used to put these together, she would also add a green olive to the top and skewer it all with a toothpick. I have been in charge of making these since I was maybe 8 years old, and I've never put them on there - I don't like olives. You could do the toothpick thing to make it look fancy and whatnot but I think it's just an obstacle. I gobble these puppies up! Don't need anything getting in my way. ;)
Now, because these ingredients are Hispanic ingredients you do have to either go to a Hispanic grocery store or a store with a big international section. If you shop at Walmart; they may have the slachichon there - my local Walmart used to carry it, they don't anymore. They do carry the the cheeses and guava paste, though. Again, sorry I don't have any pics for ya. But if it makes you feel any better, I won't be able to eat this probably for another 3 weeks or so.
1. Crackers

2. Salchichon Goya
3. Guava Paste
4. Queso Blanco
(Alternate cheese) Queso de Papa

Now, if I remember correctly, when I was little and my mom used to put these together, she would also add a green olive to the top and skewer it all with a toothpick. I have been in charge of making these since I was maybe 8 years old, and I've never put them on there - I don't like olives. You could do the toothpick thing to make it look fancy and whatnot but I think it's just an obstacle. I gobble these puppies up! Don't need anything getting in my way. ;)
Now, because these ingredients are Hispanic ingredients you do have to either go to a Hispanic grocery store or a store with a big international section. If you shop at Walmart; they may have the slachichon there - my local Walmart used to carry it, they don't anymore. They do carry the the cheeses and guava paste, though. Again, sorry I don't have any pics for ya. But if it makes you feel any better, I won't be able to eat this probably for another 3 weeks or so.
Friday, July 18, 2014
Food Porn Friday: Chocolate/Peanut Butter Chip Cookies
Keeping with the "-less" theme of most of my recent baking, this week's Food Porn Friday is butter-less chocolate/peanut butter chip cookies.
I'll admit, the recipe I have with butter is in my opinion a lot better; but if you don't have butter at home and don't want to buy any or can't afford to buy any, this is a good alternative. The cookies are still good.

Now, this is the part where I type the recipe for you guys, but I'm being lazy, and since I got this from a website, I'm just going to link to that website. LOL. So click HERE to see the recipe. It should be the scaled down version that I used. It says it makes 22 cookies, I got about 18. Also, the recipe is just for chocolate chip cookies, but I usually buy the mixed bag that comes with milk chocolate and peanut butter chips, so that's the one I used. Enjoy!
I'll admit, the recipe I have with butter is in my opinion a lot better; but if you don't have butter at home and don't want to buy any or can't afford to buy any, this is a good alternative. The cookies are still good.
Now, this is the part where I type the recipe for you guys, but I'm being lazy, and since I got this from a website, I'm just going to link to that website. LOL. So click HERE to see the recipe. It should be the scaled down version that I used. It says it makes 22 cookies, I got about 18. Also, the recipe is just for chocolate chip cookies, but I usually buy the mixed bag that comes with milk chocolate and peanut butter chips, so that's the one I used. Enjoy!
Friday, July 11, 2014
Food Porn Friday: Coconut Ice Cream (Homemade)
I know, I know - I'm late. But this was worth the wait! I JUST finished making coconut ice cream and it is DELISH!
A very good and dear friend of mine is moving out of the country next month and they have different electrical outlets out there, and she can't really use the things she has; so she has been trying to pawn off items on people. The moment she said she had an ice cream maker, my ears perked up! What!? I've been dying for an ice cream maker!!! So I graciously (*snickers*) volunteered to take her Cuisinart off her hands. Now, the condition which was put on me (which I totally agreed to) was that this was a loaner, because her husband is crazy about this thing and chances were he was going to want it back when they move back to the states in a couple of years. Not a problem - by the time they get back, I will be an ice cream making machine myself! :P
On the train ride back home, I looked at the little booklet and saw a very simple recipe for coconut ice cream, and I decided that would be my first project. I'm Puerto Rican, we love coconut. Now, looking at the recipe, there were a few things I wasn't crazy about, and decided to make some alterations. After tasting the final product, I'd say my alterations worked great.

I didn't like the idea of having shredded coconut or flakes in the ice cream. It's actually one of the things I don't like about coconut - it's chewy and it gets stuck in your teeth and I swear there's always like a stray flake in your mouth the rest of the day. So I decided to use coconut milk instead - it gives you the coconut taste you're looking for without a mouthful of flakes. :)
I also cut the sugar down a bit. This wasn't in the original plan; it just happens that we were low on sugar, and 2/3 of a cup was all I had. LOL. I figured it was a good enough amount so I made the call and decided to only use that much. It worked great, I like how sweet it is with this amount of sugar. I think if I would have used more it would have been too sweet for my liking.
A very good and dear friend of mine is moving out of the country next month and they have different electrical outlets out there, and she can't really use the things she has; so she has been trying to pawn off items on people. The moment she said she had an ice cream maker, my ears perked up! What!? I've been dying for an ice cream maker!!! So I graciously (*snickers*) volunteered to take her Cuisinart off her hands. Now, the condition which was put on me (which I totally agreed to) was that this was a loaner, because her husband is crazy about this thing and chances were he was going to want it back when they move back to the states in a couple of years. Not a problem - by the time they get back, I will be an ice cream making machine myself! :P
On the train ride back home, I looked at the little booklet and saw a very simple recipe for coconut ice cream, and I decided that would be my first project. I'm Puerto Rican, we love coconut. Now, looking at the recipe, there were a few things I wasn't crazy about, and decided to make some alterations. After tasting the final product, I'd say my alterations worked great.
I will leave you guys with both the ingredients from the booklet and the alterations I made. If you love coconut and want to make your own - do it! It's so creamy and delicious!!!
Cuisinart Ingredients:
- Heavy cream - 2 cups, chilled
- Whole milk - 1 cup, chilled
- Sugar - 3/4 cup
- Coconut extract - 1 teaspoon
- Shredded coconut - 1/4 cup
Alternate Ingredients:
- Heavy cream - 2 cups, chilled
- Coconut milk - 1 cup, chilled
- Sugar - 2/3 cup
- Coconut extract - 1 teaspoon
I didn't like the idea of having shredded coconut or flakes in the ice cream. It's actually one of the things I don't like about coconut - it's chewy and it gets stuck in your teeth and I swear there's always like a stray flake in your mouth the rest of the day. So I decided to use coconut milk instead - it gives you the coconut taste you're looking for without a mouthful of flakes. :)
I also cut the sugar down a bit. This wasn't in the original plan; it just happens that we were low on sugar, and 2/3 of a cup was all I had. LOL. I figured it was a good enough amount so I made the call and decided to only use that much. It worked great, I like how sweet it is with this amount of sugar. I think if I would have used more it would have been too sweet for my liking.
Friday, July 04, 2014
Food Porn Friday - Pizza
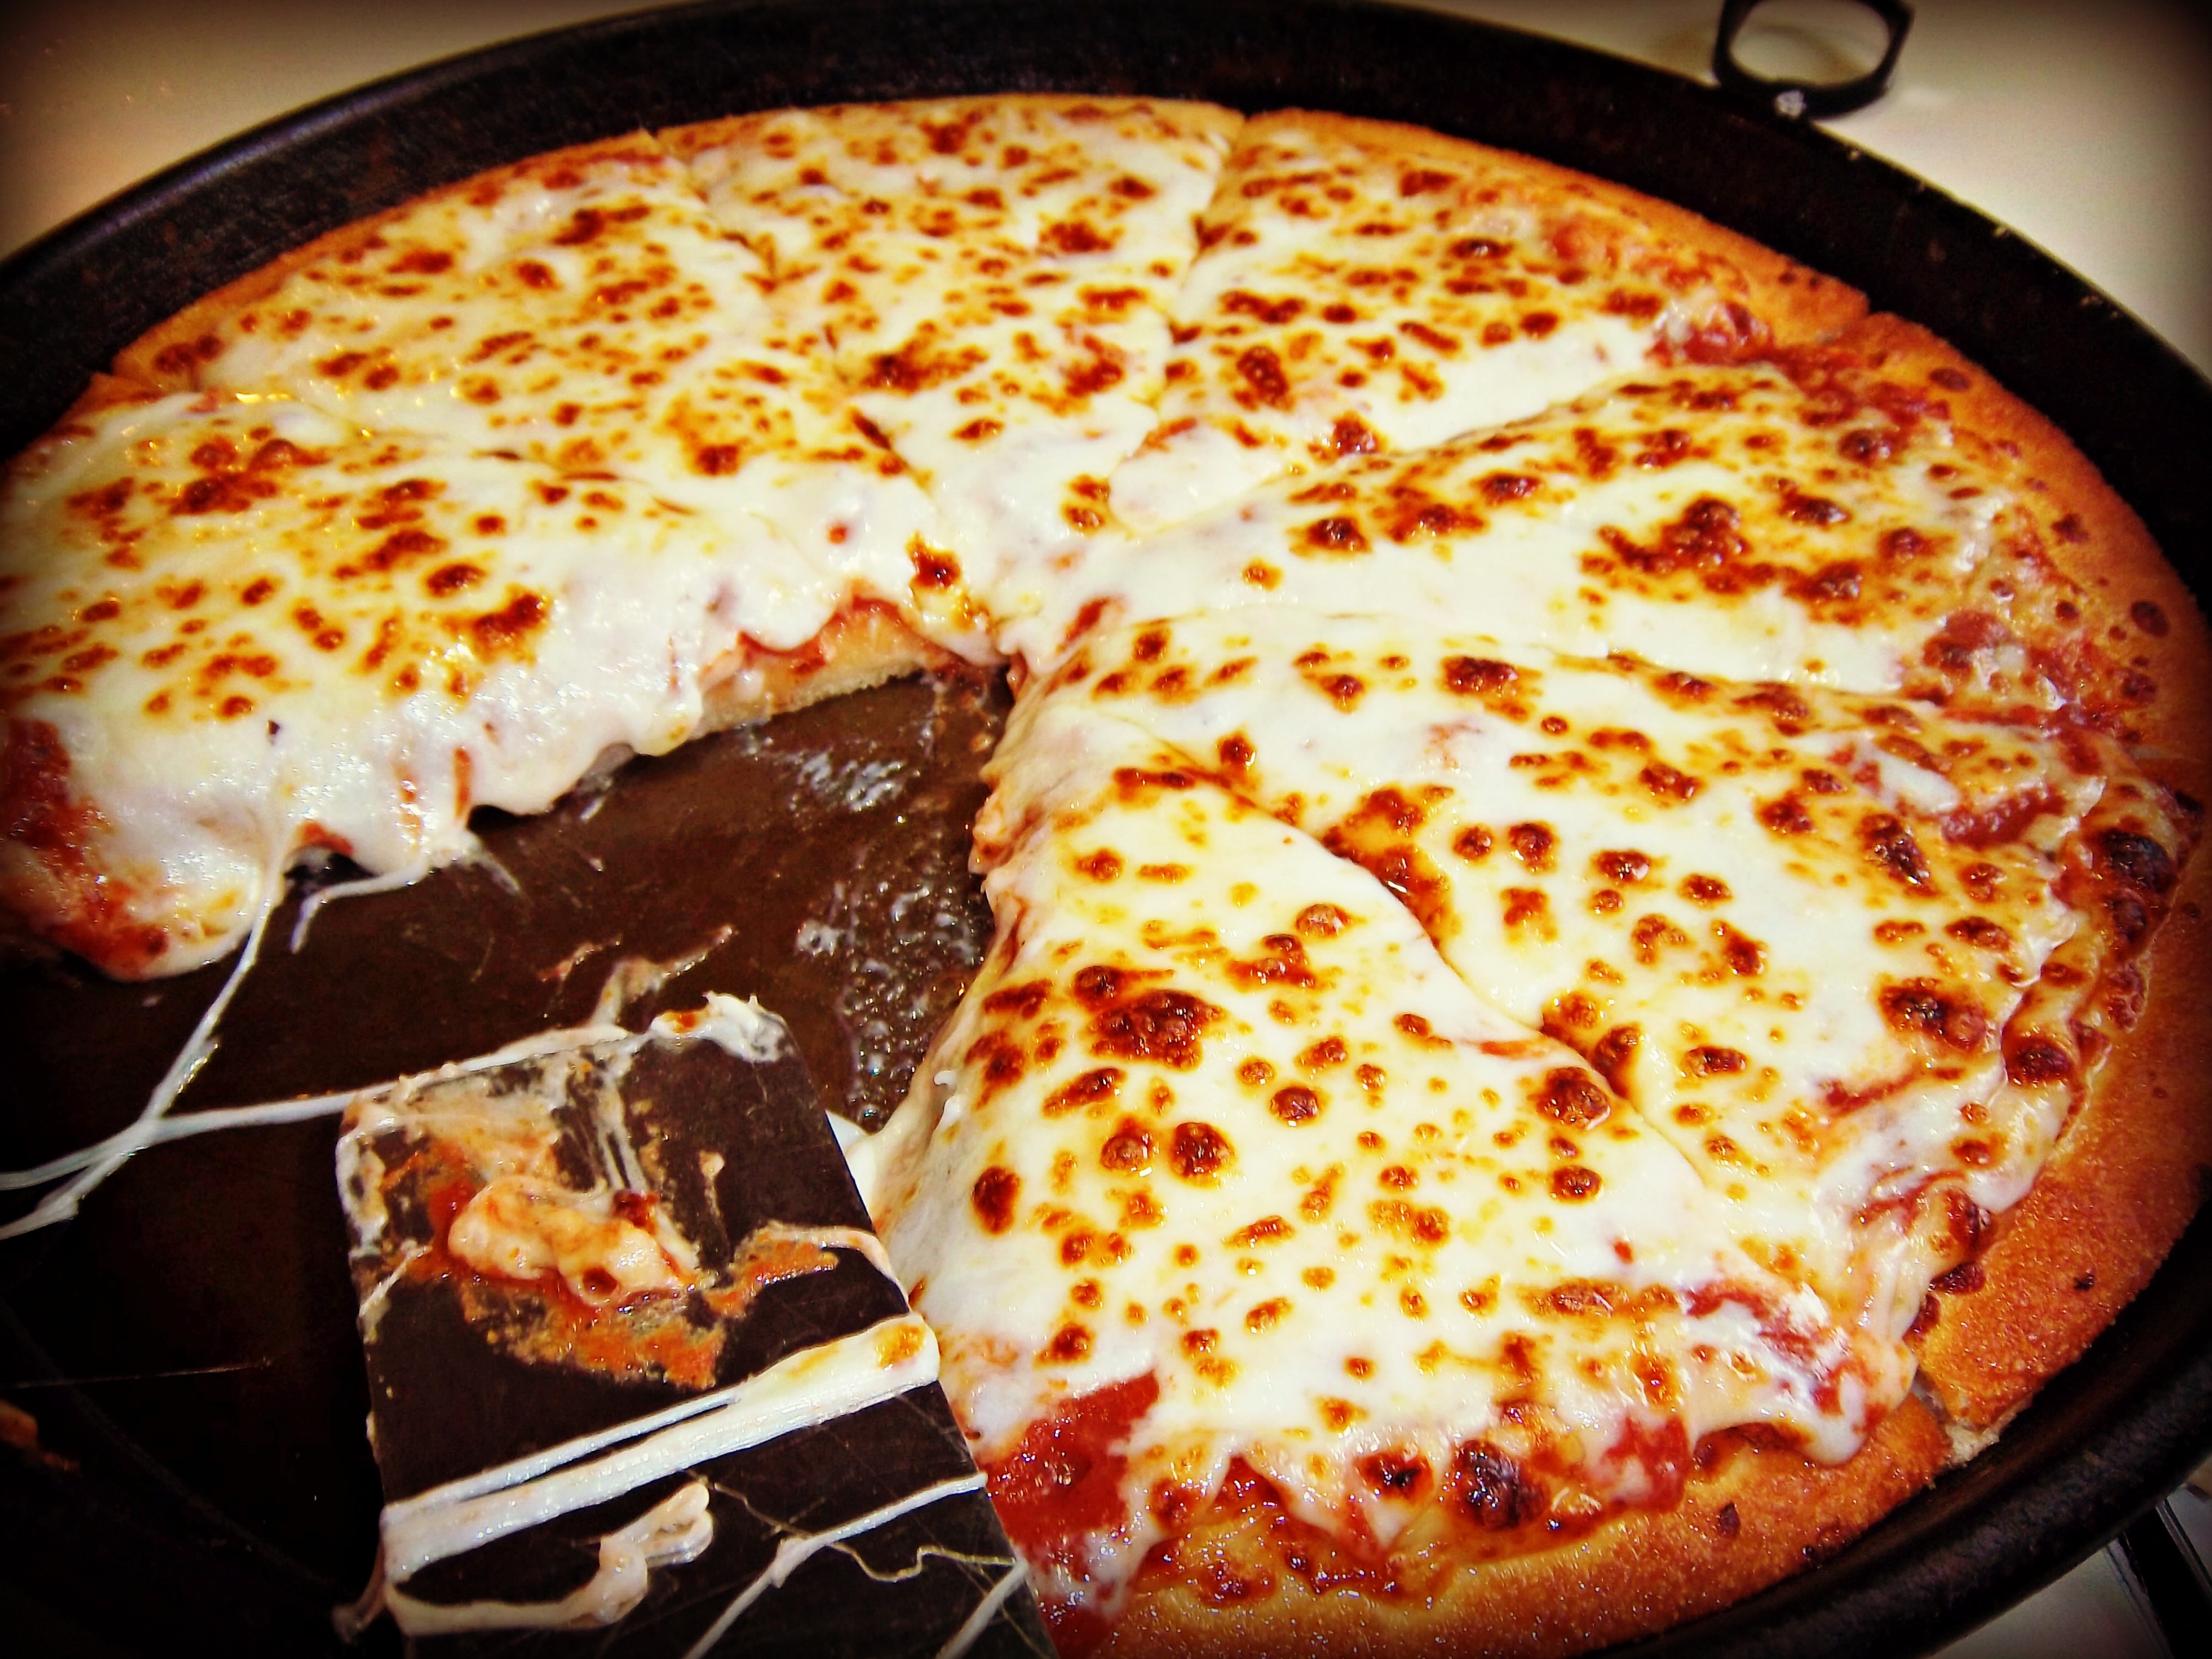
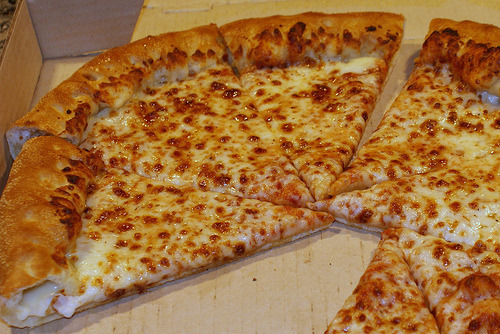
No recipe for this week's Food Porn Friday. Instead, I will be talking about what I've been craving all week - pizza! Who doesn't love pizza!? There's a topping for everyone (cheese, bacon, anchovies, etc.) and there's also a crust for everyone (regular, thin, stuffed, etc.) I'm a huge pizza lover, and I'll admit I'm going a little crazy - I haven't had pizza in a few months. The woes of being unemployed.
So this is my current craving. I will continue to crave it until I eat it, whenever that is. I leave you all with pics I got from Goggle of pizza that I could DEF eat right about now.


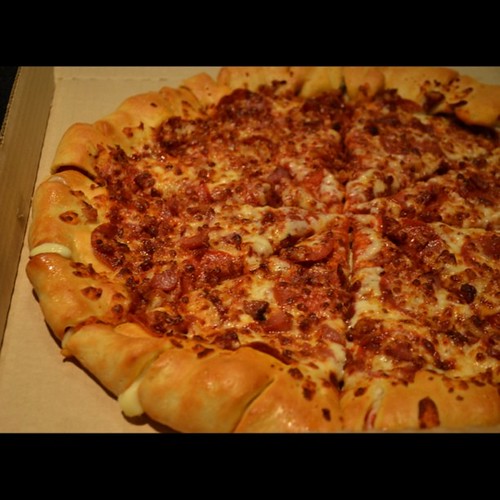

So this is my current craving. I will continue to crave it until I eat it, whenever that is. I leave you all with pics I got from Goggle of pizza that I could DEF eat right about now.


Friday, June 27, 2014
Food Porn Friday: Eggless, Milkless, Butterless Chocolate Cake
I was craving something sweet all day. But I'm broke, and we don't have any eggs or butter to bake anything. But I reeeally wanted something sweet. I thought, "Surely, there has to be something I can make with the ingredients I do have." And so I went on the internet, and stumbled across a blog called Rak's Kitchen, and they had a recipe for chocolate cake that didn't use eggs or butter OR milk. So I decided to try it:
I must say, I'm very happy with the results. It was good. The cake tasted like cake (lol), it was moist - I'm rather surprised. Hehe. I'm not a vegetarian so I'm going to try making it with milk instead of water next time. I think it would make it taste even better.


Ingredients:
- AP flour - 1.5 cups
- Cocoa powder - 3 Tbsp
- Sugar - 1 cup
- Oil (I used canola) - 1/4 cup
- Baking soda - 1 tsp
- Lemon juice/Vinegar - 1 Tbsp
- Water - 1 cup
- Salt - 1/4 tsp
- Vanilla extract - 1/2 Tbsp
Directions:
- Preheat oven at 350 degrees Fahrenheit.
- Sift the flour, cocoa powder, and baking soda together and set aside.
- Mix water, sugar, salt - make sure the sugar gets dissolved - then add the lemon juice/vinegar, oil and vanilla. Mix well.
- Add the sifted flour and mix well.
- Grease a baking pan (I used an 8 inch round pan) with oil and dust with some flour, or use baking spray which is what I used. Pour the batter.
- Bake for
35-40 minutes25-30 minutes - mine was done in about 25 minutes. - Take cake out of the over and let cool for about 15 minutes. Invert cake and let cool the rest of the way.
I must say, I'm very happy with the results. It was good. The cake tasted like cake (lol), it was moist - I'm rather surprised. Hehe. I'm not a vegetarian so I'm going to try making it with milk instead of water next time. I think it would make it taste even better.
Friday, June 20, 2014
Food Porn Friday - Deep Fried Oreos
I've decided to start a new Friday segment called Food Porn Friday - where I talk about a food I am craving, or really good food I had during the week. Basically, I'm going to be fat and talk about food. Food is delicious, so let's talk about it!
I've seen a few people do food porn posts around the social mediaverse, but I will credit the idea to author Cynthia St. Aubin. She has a Food Porn Friday discussion on her street team every week; and as a member of her street team, I have been privy to some really yummy things!
For my first Food Porn Friday post, I will be talking about deep fried Oreos. That's right; deep. fried. OREOS! Now, depending on where you live, you may or may not have heard of this. I grew up in Connecticut and it wasn't until I moved to Pennsylvania a few years ago that I even heard of deep fried Oreos. I'd heard of deep fried Twinkies, but not the Oreos. A friend of mine told me about them, and made it her mission to have me try some - Oreos not Twinkies. So off to the carnival we went! Apparently, it's carnival food - who would have thunk it? (Hehe, I've always wanted to say that)
Well let me tell you guys, that first bite of hot, powder sugary deliciousness that is a deep fried Oreo was life changing. Oh so so good! I was hooked from day one. As soon as spring hits every year, my mind starts; "When's the first fair? Where are the Oreos? Deep fried Oreo season!"
This year, however, I decided to figure out how to make them at home. So off to the internet I went, and found recipes, and pictures, and just lots and lots of deep fried Oreos (I also came across a deep fried Snickers...) After reading many posts, and recipes, I decided to make my own. I didn't take one particular recipe, I kind of took little parts from different recipes and also did my own thing. The result was A-MAZING!
So in the spirit of sharing, I will share the recipe with everyone. :)

I've seen a few people do food porn posts around the social mediaverse, but I will credit the idea to author Cynthia St. Aubin. She has a Food Porn Friday discussion on her street team every week; and as a member of her street team, I have been privy to some really yummy things!
For my first Food Porn Friday post, I will be talking about deep fried Oreos. That's right; deep. fried. OREOS! Now, depending on where you live, you may or may not have heard of this. I grew up in Connecticut and it wasn't until I moved to Pennsylvania a few years ago that I even heard of deep fried Oreos. I'd heard of deep fried Twinkies, but not the Oreos. A friend of mine told me about them, and made it her mission to have me try some - Oreos not Twinkies. So off to the carnival we went! Apparently, it's carnival food - who would have thunk it? (Hehe, I've always wanted to say that)
Well let me tell you guys, that first bite of hot, powder sugary deliciousness that is a deep fried Oreo was life changing. Oh so so good! I was hooked from day one. As soon as spring hits every year, my mind starts; "When's the first fair? Where are the Oreos? Deep fried Oreo season!"
This year, however, I decided to figure out how to make them at home. So off to the internet I went, and found recipes, and pictures, and just lots and lots of deep fried Oreos (I also came across a deep fried Snickers...) After reading many posts, and recipes, I decided to make my own. I didn't take one particular recipe, I kind of took little parts from different recipes and also did my own thing. The result was A-MAZING!
So in the spirit of sharing, I will share the recipe with everyone. :)
Ingredients:
- Pack of Oreos
- Aunt Jemima pancake mix complete - the one that says just add water
- Milk
- Cooking oil - corn, vegetable, canola, whatever you use
- Powdered sugar
Directions:
- Take your cookies (this recipe makes a little over a dozen) and put them in the freezer for about 30 minutes before you start.
- In a pot, add cooking oil. You want enough so the Oreos aren't hitting the bottom when frying; they will expand. Set your stove on medium heat and warm up oil. While oil is warming up...
- In a bowl, measure out 1 cup of the pancake mix, and 3/4 cup of milk. Whisk it all together until there are no lumps
- To check if the oil is ready, add a drop of the batter into the oil. If it quickly floats to the surface sizzling, you're ready to begin!
- Take the Oreos out of the freezer and stick them in the batter. Make sure they're nice and coated with the mix on both sides.
- With a fork, scoop out battered Oreos and drop them in the oil. You want to do 3 or 4 at a time (depending on the size of your pot) so they have enough room to float about and expand. You're going to cook them until they're golden brown which is about 15 seconds. Flip them over and repeat.
- On a plate or bowl lined with paper a towel, place your deep fried Oreos to strain any excess oil.
- Sprinkle with powdered sugar and enjoy!
(Sorry about that horrid presentation. I didn't know at the time I was going to be posting it on my blog. LOL.)
Subscribe to:
Posts (Atom)